Painting you house interior is a popular project for beginning DIYers. After all, it’s pretty painless, relatively inexpensive, and should something go horribly wrong, easy to fix. But before you grab your roller and get started, it’s important to have a plan of attack. Read on to learn how to paint your house and see the steps you’ll need to follow to make sure your project is a success.
Unless you’re spray painting walls, here’s a list of the things you’ll need to paint a house interior:
Before you start buying paint supplies, you should first work out your colour scheme and the type of paint you want. “I Recommend going on to Dulux Website or even go to Bunnings and check the colour cards”
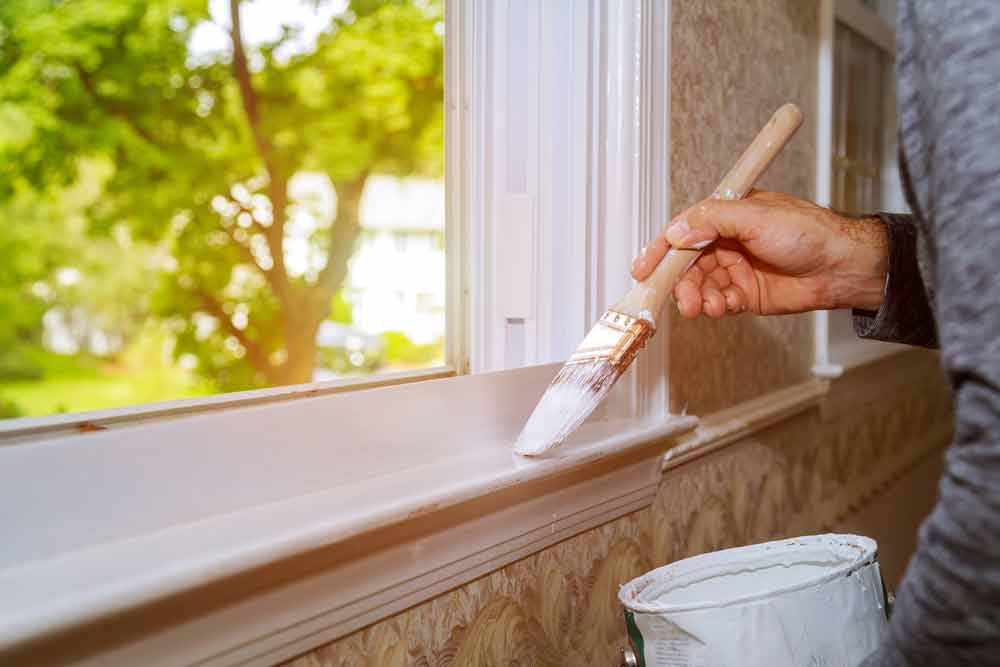
Water based paints are great for walls, but think about using oil based paints for other house painting tasks such as doors, windows and window trim. Oil based paints hold up better on surfaces that will be used frequently and are easy to keep clean, though glossier water based paints are also available.
You also need to work out how much paint you need. A litre of paint covers about 16 metres of surface, so work out the square metres you’re going to paint and add a little extra for good measure. If you’re painting new, porous walls or textured walls, you’ll need at least 20 percent more paint.
If there are any cracks in the walls, they need to be repaired before house painting can start. Use plaster and a paint scraper to apply the plaster. Deeper cracks may need two coats of plaster.
When the plaster is dry, use the sandpaper and block or an electric sander to smooth the walls. You may also need to sand areas around windows or on doors where paint has peeled to get a smooth surface.
All walls should be thoroughly cleaned to get rid of dust and grease. The paint will adhere better to a clean surface and bubbles won’t appear later. Use your sponge, sugar soap and water to clean the walls and any other surfaces you’re going to paint.
A common mistake of DIY house painting is getting paint where it’s not supposed to be. To protect your home and belongings, start by removing all the furniture from the room. This will make painting easier and protect your furniture. If you can’t remove the furniture, stack it somewhere out of the way. You may have to move it later if it’s against a wall that needs painting.
Use painter’s masking tape to cover any surfaces you don’t want to paint. These will include light sockets, power points, lighting fixtures, skirting boards, architraves and window trim.
Now lay down your drop cloths. Keep in mind that dripping paint has a way of finding any uncovered surface, so cover the floors thoroughly to avoid accidents.
Finally, open the windows to ventilate the room and help the paint to dry faster.
DIY house painting should start from the top down. When you’re painting a room, start with the ceiling.
You can paint most of the ceiling using your roller extension, but you’ll also need to get up on a ladder and use your paintbrush on the edges of the ceiling. When you paint the edges first, the roller will cover the streaks left by the brush.
Use the angled paint brush and start a few millimetres away from the edge to give you a feel for using the brush. After you’ve painted the ceiling, wash your brush and rollers thoroughly.
It’s best to paint the architraves next. If you’re using the same colour for architraves and window trim, paint them both together to save time, then cover the window trim with tape once it’s dried.
If you’re using an oil based paint, clean the brushes thoroughly before moving on.

Blue Paint Au painter in action, painting window trim
Now it’s time to paint the walls. Make sure the drop cloths cover the floor thoroughly.
To get a good finish from DIY house painting, you’ll need both a brush and a roller. Start with the brush and don’t forget to paint the corners that a roller can’t reach. Use the roller to paint the walls. If you have high ceilings, you’ll need your roller extension.
The final stage is the skirting boards. It’s a good idea to mask the floor first to avoid accidentally painting your carpet or floor. If the paint has dried on the walls, you might want to mask the walls, too.
After the paint has dried, remove the masking tape from all surfaces. Carefully remove the drop cloths, making sure not to step on any paint. If the paint is thoroughly dry, you can hang paintings back up and replace the furniture.
The final step of DIY house painting is to stand back and admire your work. If you’ve taken your time, you should have a perfectly painted room.
It may take a weekend to paint a room. If you don’t want to spend your weekends painting, consider getting help from professional painters. They have a wealth of experience and can paint the whole house.
To improve your results from DIY house painting or to make the job easier, follow these tips:
we will get back to you the same day and schedule same day quotation or whenever suits you best.